How to Clean Your Phone's Charging Port: A Complete, Safe, and Effective Guide (Updated 2025)
Updated on September 25, 2025
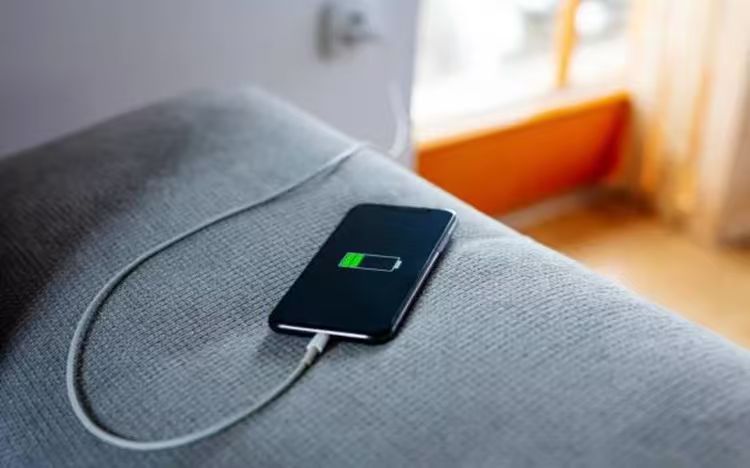
Is This You? Your Phone Only Charges at a "Magic Angle," Charges Intermittently, or Shows a Charging Symbol But the Battery Percentage Doesn't Budge? Often, the culprit isn't a faulty cable or battery, but the often-overlooked phone charging port—which might be clogged with dust and lint.
Table of contents
- Part 1: Why Clean Your Phone Charging Port? 90% of Charging Issues Start Here
- Part 2: Must-Know Before You Start: 3 Types of Safe Tools + 2 Core Prerequisites
- Part 3: The 4-Step Cleaning Method: From Basic to Deep Cleaning, Easy for Beginners
- Part 4: Pitfall Guide: These 5 Mistakes Are Damaging Your Phone
- Part 5: Long-Term Maintenance: 3 Tips to Reduce Dirt Buildup
- Part 6: Emergency Steps: Still Having Charging Issues After Cleaning?
- Conclusion

Regularly cleaning your phone's charging port is a crucial habit for maintaining your device. This guide will teach you how to do it safely and effectively, avoiding damage.
Part 1: Why Clean Your Phone Charging Port? 90% of Charging Issues Start Here
As the "lifeline" for power connection, your phone's charging port constantly collects pocket lint, bag dust, and grime from humid environments. This debris can cause charging speed to drop by more than 50%, lead to poor contact, prevent cable recognition, and in severe cases, cause short circuits that burn out the board. More insidiously, grime in the port harbors bacteria, becoming a health hazard. According to tests by Pacific Tech, regular cleaning can extend the port's lifespan by 2-3 years.Part 2: Must-Know Before You Start: 3 Types of Safe Tools + 2 Core Prerequisites
(一) Essential Tool List (Can be found at home, cost under $1.50)Basic Dusting Tools: Soft-bristled brush (a glasses brush or ultra-fine fiber toothbrush is best; avoid hard bristles that can scratch contacts), compressed air can (use the kind specifically for electronics, with gentler pressure).
Deep Cleaning Tools: Cotton swabs (tightly-wound fibers are better), 75% isopropyl alcohol (disinfects and cleans, evaporates quickly without residue).
Stubborn Debris Tools: Plastic spudger or a toothpick wrapped tightly in a paper towel (AVOID metal tools to prevent conductive shorts and damage).
(二) Safety Prerequisites
Power off your phone completely and disconnect all cables to prevent short circuits during cleaning.
Work in a dry environment. In humid conditions, you can use a desiccant packet nearby.
Part 3: The 4-Step Cleaning Method: From Basic to Deep Cleaning, Easy for Beginners
Step 1: Basic Dusting (For Surface Dust)Gently brush along the charging port in one direction 3-5 times with a soft-bristled brush to remove dust and fibers from the crevices. Then, turn your phone screen-side down and gently tap it to let loose debris fall out with gravity. If using a hairdryer, use the cool air setting only, holding it 10-15 cm away to avoid heat damage.
Step 2: Deep Cleaning (For Stubborn Grime)
For large debris like lint or crumbs, use a plastic spudger or a toothpick wrapped in paper to gently pick it out. Keep movements minimal (under 5mm) to avoid damaging the internal contacts.
Dip a cotton swab in a small amount of alcohol (squeeze out excess liquid until it doesn't drip). Insert it into the port and rotate it gently along the inner walls to dissolve grease and oxidation.
Step 3: Precision Blowing (To Remove Hidden Dust)
Point the nozzle of the compressed air can at the port, keeping a distance of 5-10 cm. Use short, 1-second bursts (2-3 times) to blast out deep-seated dust. Avoid prolonged spraying to prevent moisture condensation from entering the device.
Step 4: Disinfection and Drying (For Safe Use)
Wipe the external part and edges of the port with an alcohol wipe to kill bacteria. Then, let the phone sit for at least 5 minutes to ensure the alcohol evaporates completely. Use a dry cotton swab to absorb any remaining moisture.
Part 4: Pitfall Guide: These 5 Mistakes Are Damaging Your Phone
NEVER Use Metal Tools: Pins, paperclips, etc., can scratch the gold-plated contacts, causing permanent connection issues.NO Direct Water/Pouring: Water can cause short circuits. Even water-resistant phones are not immune to port damage from liquids.
Don't Overdo the Alcohol: Excess liquid seeping into the phone can damage the logic board. The cotton swab should only be damp.
Avoid Over-Cleaning: Once a month is sufficient. Excessive cleaning can wear down the port's structure.
Don't Use Excessive Force: Applying too much pressure when picking out debris can bend the internal pins. Be as gentle as "handling cotton."
Part 5: Long-Term Maintenance: 3 Tips to Reduce Dirt Buildup
Use a Dust Plug: Choose a silicone one to block the port when not charging, preventing debris entry.Mind the Environment: In dusty places like construction sites or beaches, store your phone in a sealed bag if possible. Use desiccant packs in humid weather.
Maintain Your Cables: Periodically clean the metal connector heads of your cables with a pencil eraser to reduce grime transfer to the port.
Part 6: Emergency Steps: Still Having Charging Issues After Cleaning?
Test with a different, original/OEM charger and cable to rule out accessory problems.Inspect the port for bent pins. If you see any, contact official customer service (unauthorized repairs often cause more damage).
If the phone was exposed to moisture, you can place it in a bag of uncooked rice for 24 hours to absorb humidity before testing again.
Conclusion
Cleaning your phone's charging port is a simple yet vital maintenance step. Spending a few minutes using the right tools and methods can solve frustrating charging problems and extend your device's life. Remember the core principles: be gentle, keep everything dry, and use non-metal tools.We hope this guide helps you! If your friends also face charging issues, feel free to share this article with them.

